Search Engine User Manual
About
Configuration
Quick start
After you installed Network Search Engine on your hard disk drive, you need to perform an initial configuration before using it:
Step 1
Click Start – Programs – Network Search Engine – Administration Console to begin initial configuration.
Step 2
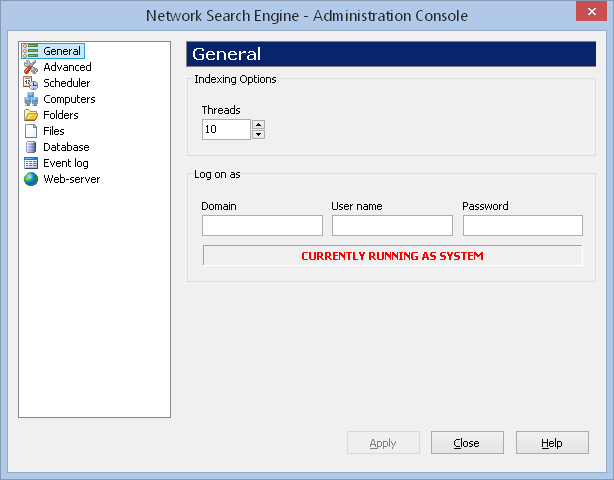
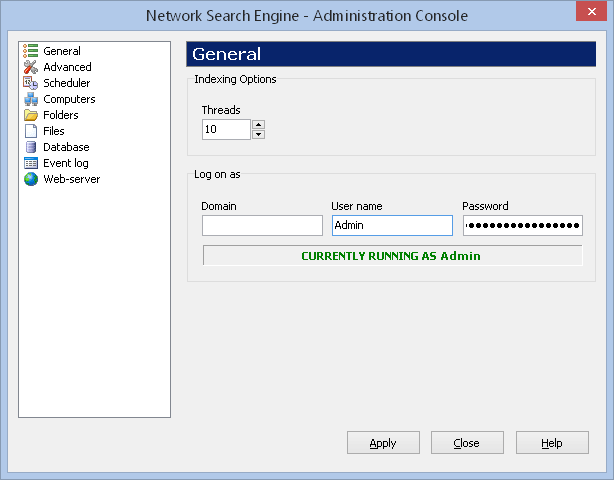
In the General window you need to enter a user login name and a password. The software requires an existing Windows user account with standard privileges or above to access the network. You can either enter an existing Windows user login name plus password or create a new Windows user specifically for Network Search Engine.
Step 3
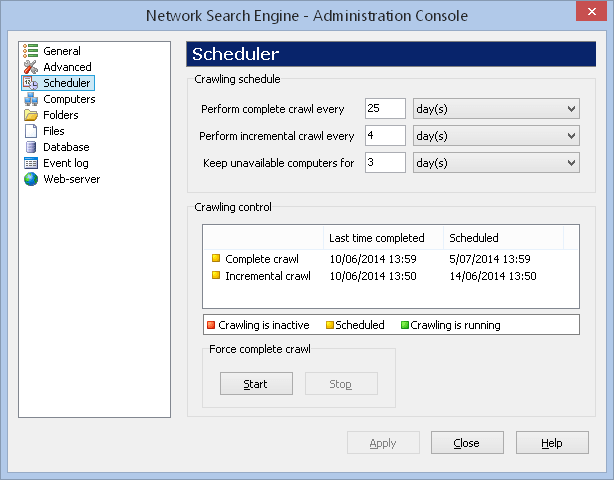
Review and, optionally, modify the remaining settings and then switch to the Scheduler window. Click Start in the Force Complete Crawl section. Depending on your network size and server performance the complete crawl process could take several hours.
Step 4
While waiting for the engine to complete the crawl process, you can configure user access to the search engine.
Network Search Engine provides web-based access to its database. There are three access options:
- Using the built-in web-server. This is a good option if you do not already have a web-server installed on this computer and have a relatively small number of users.
- Using a previously installed Microsoft Internet Information Server (IIS). The search engine installation has a precompiled high-performance ISAPI module to interface with IIS.
- Using any other third party web-server that is capable of running CGI scripts. The search engine installation has a precompiled Win32 CGI executable that you can deploy.
Option 1: Built-in web-server
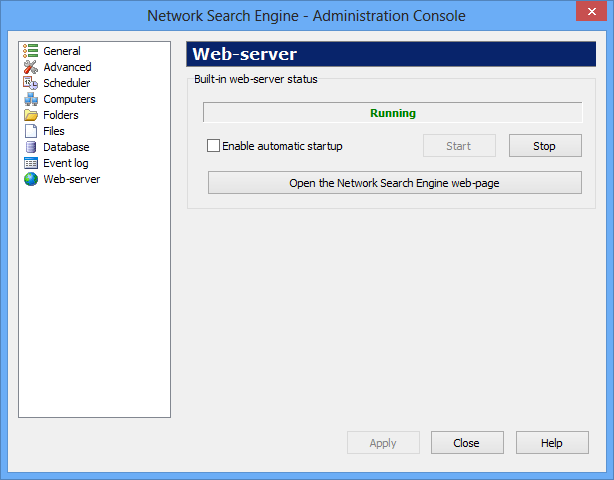
If you decide to use the built-in web-server, no additional configuration required. Switch onto the web-server window and click the Start button. If the server starts successfully, it will display its status. You can then access it by typing https://localhost:8080/netsearch.exe in your web-browser.
If the server does not start, please check the Windows’ Event Log for any error messages from the web-server. By default, the web-server listens on port 8080 and may not be able to start if you have another web-server application listening on this port.
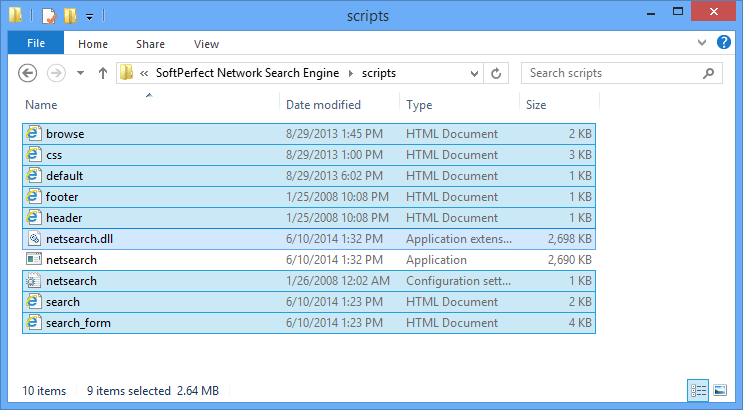
Option 2: Installing ISAPI module with the Internet Information Server (IIS)
You need to copy the supplied netsearch.dll file and all the *.htm files from the scripts subfolder of the installation folder to a folder in your web-site that allows ISAPI modules execution. You should also ensure that NTFS permissions and IIS script permissions are set correctly. The exact procedure may differ for various versions of IIS, so please refer to your IIS web-server documentation. The files to copy are shown below:
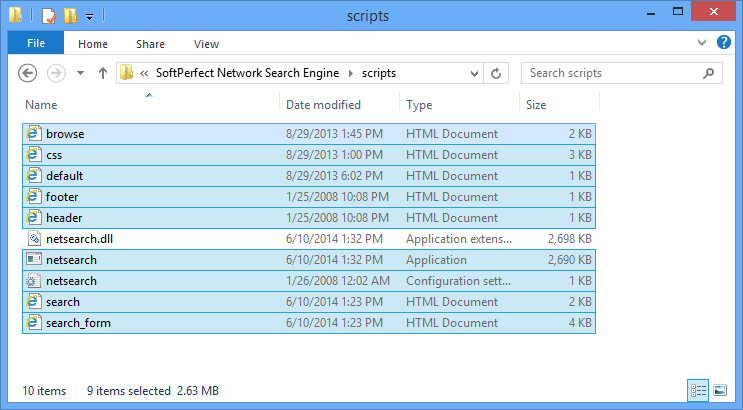
Option 3: Installing CGI executable with a third party web-server
You need to copy the supplied netsearch.exe file and all the *.htm files from the scripts subfolder in the installation folder to a folder in your web-site that allows CGI script execution. These files are shown below. You should also ensure that NTFS permissions and web-server CGI script permissions are set correctly. The exact procedure may differ for various web-servers, so please refer to your web-server documentation.
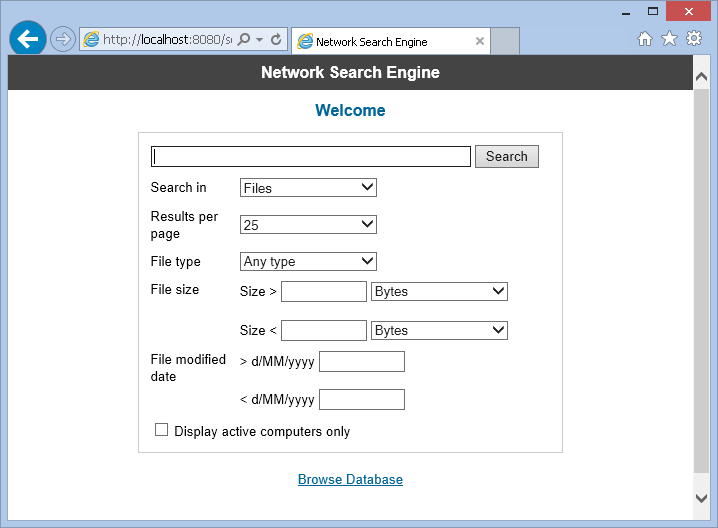
After completing one of the three options described above, you should test your Network Search Engine installation. Point your web browser to something like this:
https://localhost/scripts/netsearch.exe
https://localhost/scripts/netsearch.dll
The exact URL depends on which of the above options you chose and your web server configuration. If all is well, you will see a welcome page and can try out some searches:
Step 5
Once you have the web-interface up and running, you may want to integrate it with your existing web-site. The installed files include HTML file templates. You can open these templates in any HTML or text editor and modify them according to your needs. Alternatively, you could embed the Network Search Engine web-interface into your existing web-site using frames. Please refer to any HTML documentation for details.