Getting started
Upon first launch, you will see the main window of the application. This is where you can create a new RAM Disk, change settings, work with disk images, and so on. A screenshot below shows the main window with two RAM disks mounted:
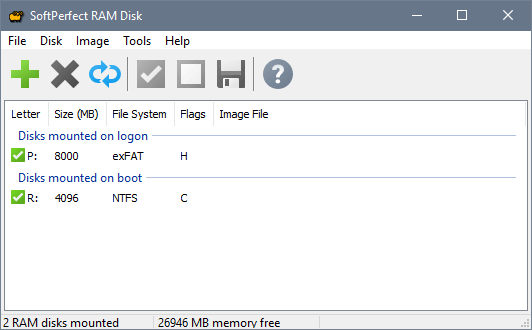
In order to create a new RAM disk, choose Disk - Add from the main menu. See adding a RAM disk for details. A newly added RAM disk will be automatically mounted and shown in the list of disks. If you did not choose to format the disk as FAT, FAT32, exFAT or NTFS, you will need to do so manually before you can use it. Then you can access the disk via Windows Explorer or your favourite file manager.
Disks that are no longer required can be removed by choosing Disk - Delete from the main menu. This will unmount the disk and then delete it from the list of disks. If you would like to remove a disk temporarily, you can choose Disk - Unmount. As the name of this command suggests, a disk will be removed from the system (unmounted), but it will persist in the list of the disks. Later you can mount it again by choosing Disk - Mount.
The flags shown in the list of disks can have one or more of the following values:
- R (removable): the disk is mounted as a removable disk. Windows will not create the Recycled or System Volume Information folders on the disk. It will also be possible to eject the disk via Windows Explorer’s context menu.
- W (wipe): the memory allocated for the disk will be securely erased on dismounting the disk. This option is recommended if you have got sensitive data stored on the disk.
- P (persistent): the disk’s content will be saved to the associated image file upon shutdown. If this flag is not present, the disk is volatile.
- C (compressed): the disk’s content will be compressed when data is written to it. This option is only available for NTFS volumes.
- H (hard disk emulation): the disk is emulated as a complete hard disk drive with partitions.
- N (NUMA node): the disk is allocated in a selected NUMA node.
Here is how the mounted disks appear in Windows Explorer:
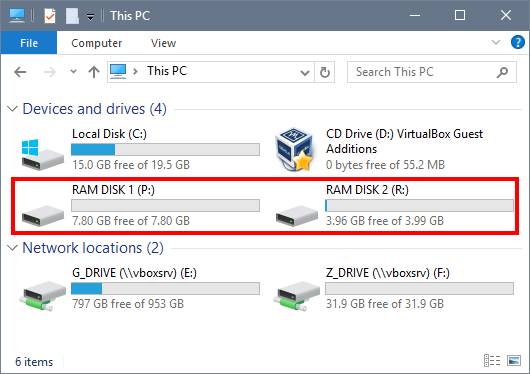
Note: the RAM disks are not visible in the Disk Management console unless the Hard Disk Emulation is turned on. On Windows 7 and higher dynamic volumes are also supported for the RAM disks with the Hard Disk Emulation turned on.